2")
Sous vide boneless short ribs might sound fancy, but as soon as you slice into that tender bite, it feels like a hug from the inside. I still remember the first time I tried them, waiting patiently while the machine hummed away in my kitchen. It took a bit of faith to trust low temperature and time over high heat, but when the moment came, the meat melted on my fork. This article will guide you through every step, from what makes sous vide boneless short ribs so special, to tips and tools that elevate your results. You’ll learn cooking times, ideal temperatures, and how patient you need to be, all while making mouthwatering ribs from start to finish.
The Story Behind Sous Vide Boneless Short Ribs
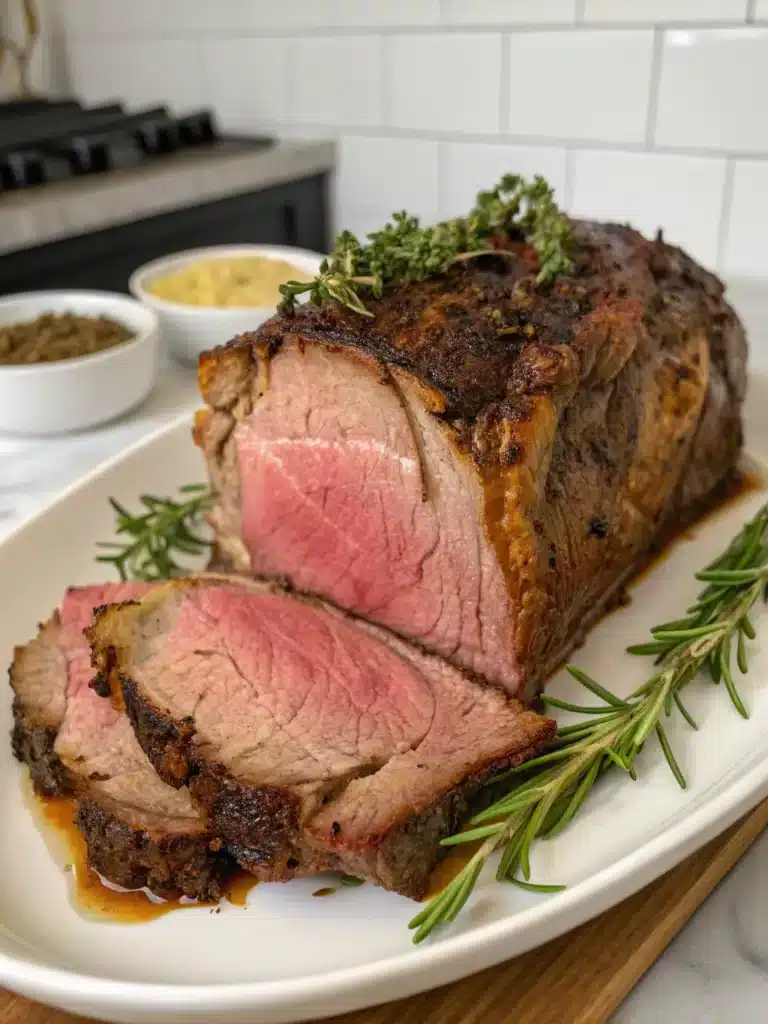
There’s something magical about sous vide boneless short ribs that goes beyond flavor. Years ago, I hosted a dinner and decided to test my new sous vide setup with boneless short ribs. I was nervous because ribs usually need high heat, yet I kept those ribs in the water bath at 58 °C (136 °F) for 48 hours. When I plated them, my friends gasped, they looked perfect and sliced like butter. That moment taught me that sous vide boneless short ribs aren’t about shortcuts, but patience and precision.
Why choose sous vide boneless short ribs?
Sous vide allows you to precisely manage cooking temperature, ensuring consistent results from edge to center. Unlike braising, you don’t risk overcooking or drying out ribs. The gentle bath keeps them evenly heated from edge to center, so every bite of boneless short ribs is just right. Plus, since they’re boneless, they marinate well and cook more consistently. It’s a smart choice whether you’re cooking for a crowd or just a quiet dinner at home.
Print 3")
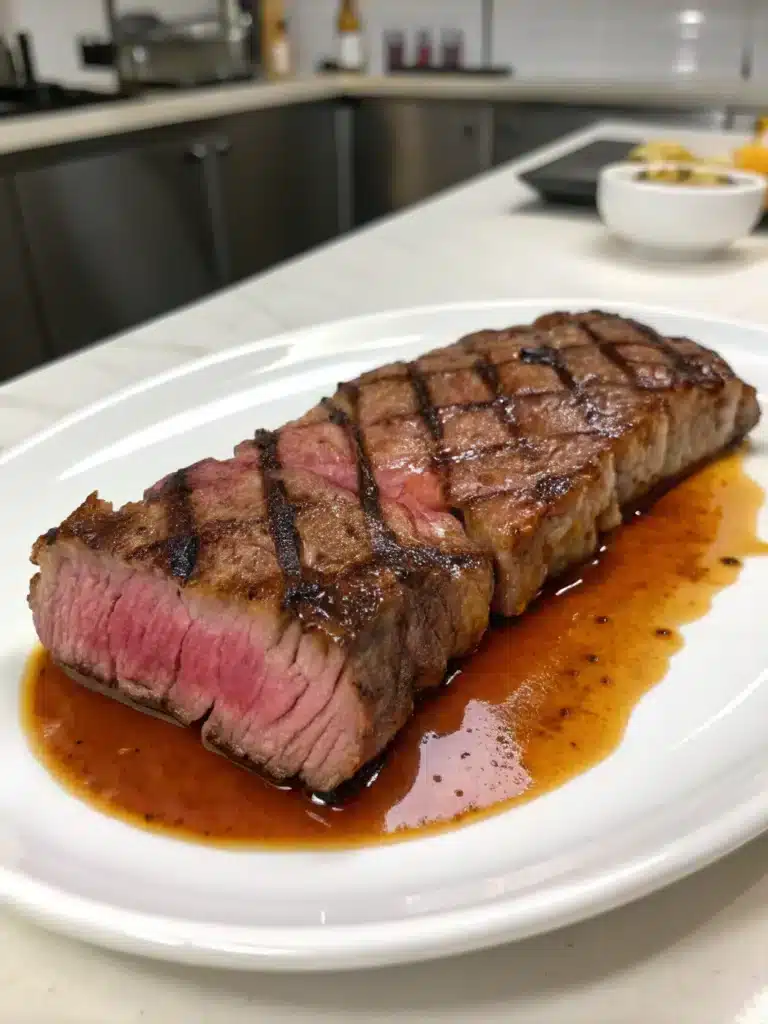
Sous Vide Boneless Short Ribs (48hr)
- Total Time: 36 hrs 15 mins
- Yield: 4 servings 1x
Description
Tender sous vide boneless short ribs cooked low and slow for deep flavor and perfect texture.
Ingredients
2 lbs boneless beef short ribs
1 tsp kosher salt
1 tsp freshly ground black pepper
2 cloves garlic, minced
2 sprigs fresh thyme
1 tbsp olive oil
Instructions
1. Preheat sous vide to 58°C (136°F)
2. Season ribs with salt, pepper, garlic, thyme
3. Vacuum seal ribs in bag
4. Sous vide ribs for 36 hours
5. Remove, pat dry, sear in hot skillet 1-2 minutes each side
6. Rest 5 minutes, slice and serve with pan jus
Notes
Adjust temperature if you prefer firmer texture.
Use rack when resting to keep crust crisp.
- Prep Time: 15 mins
- Cook Time: 36 hrs
- Category: Main
- Method: Sous Vide
- Cuisine: American
Nutrition
- Serving Size: 1 cup
- Calories: 450
- Sugar: 0g
- Sodium: 600mg
- Fat: 32g
- Saturated Fat: 12g
- Unsaturated Fat: 15g
- Trans Fat: 0g
- Carbohydrates: 0g
- Fiber: 0g
- Protein: 38g
- Cholesterol: 110mg
My first sous vide boneless short ribs experience
I recall pulling the ribs from the bag, brushing them with garlic butter, and giving them a quick sear. The crust formed so easily because the interior was already cooked gently under vacuum. That sear adds flavor and texture without risking toughness. It’s a little extra step that makes the dish feel gourmet but is actually quite easy.
Throughout this article, I’ll reference related tips, like choosing marinades from main categories and the perfect side dishes you can find on the site’s dinner ideas section. Ready to master sous vide boneless short ribs? Let’s dive deeper!
Mastering Cook Times for Sous Vide Boneless Short Ribs
Getting the cook time right is key when you make sous vide boneless short ribs. You’ll often see cooks debate whether to aim for 24, 36, or even 48 hours. Personally, I stick around 36 hours at 58 °C (136 °F) for that ideal balance of tenderness and structure. It’s long enough to break down connective tissue without losing texture. If I’m short on time, I might go for 24 hours, and you’ll still get great flavor, though the ribs stay a little firmer.
Ideal timing for tender results
At around 36 hours, the collagen in the ribs transforms beautifully into gel, making each bite succulent. At 24 hours, you’ll notice a firmer chew with rich taste. For those craving melt-in-your-mouth perfection, 48 hours works wonders, but I find 36 hours hits a sweet spot between texture and speed.
How to prep ribs before sous vide

First, pat your ribs dry and season generously with salt, pepper, and your favorite spices. I like to add a sprig of fresh thyme in the vacuum bag for aroma. You can also marinate if you followed one of our marinade guides, like the garlic‑soy marinade featured in our BBQ recipes post. Seal the bag securely to avoid leaks, then set your immersion circulator to 58 °C and pop the ribs in. Make sure water covers the entire bag, using a rack or clips helps keep it fully submerged.
Now you’ve nailed timing and prep, ensuring your sous vide boneless short ribs turn out amazing every time. Up next, we’ll dial in the exact temperatures and explore ways to build richer, deeper flavors.
Perfect Temperatures and Flavor Enhancements
One reason I love making sous vide boneless short ribs is the precision. You can choose your doneness by adjusting just a few degrees. The difference between 57 °C (135 °F) and 63 °C (145 °F) might not sound like much, but it drastically changes texture and mouthfeel. The lower end keeps them juicy and pink, while the higher end brings more firmness and traditional braised-like density.
Finding the right temperature for your taste
Here’s a handy range:
| Temperature | Texture |
|---|---|
| 57–58 °C (135–136 °F) | Very tender and pink |
| 60–63 °C (140–145 °F) | Firmer with a traditional chew |
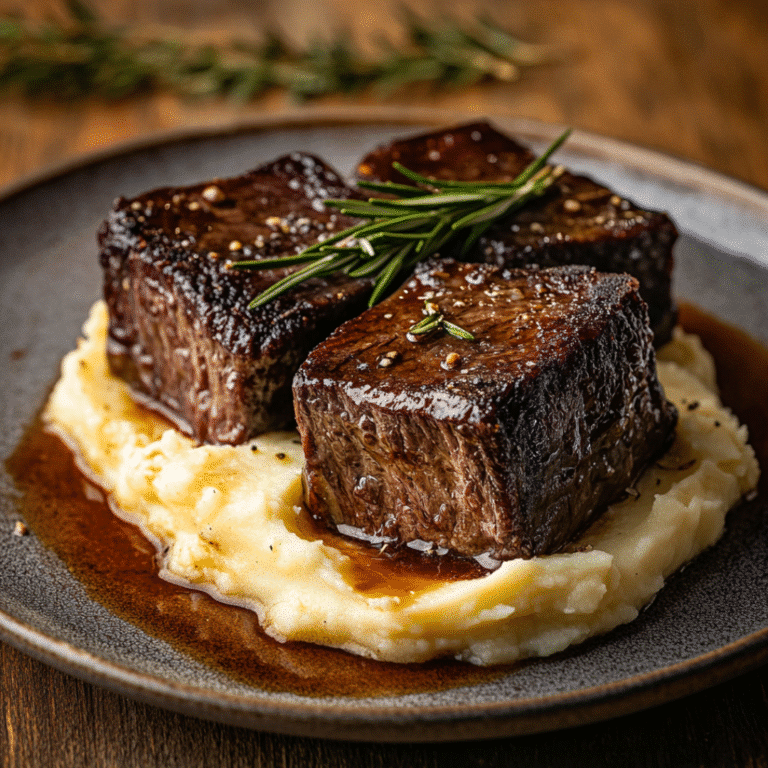
That’s the power of sous vide, you decide the result, not the oven or grill. For serving ideas, pair these with sides from our comfort food collection or plate them over creamy mashed potatoes from the meal prep ideas section.
Flavoring tips and final touches
Before sealing the ribs, add aromatics like garlic, rosemary, or even a splash of soy sauce. When done, remove from the bag, pat dry again, and sear quickly with a torch or hot pan. This caramelizes the outer layer, locking in flavor and making the ribs irresistible.
Want to elevate your plating? Glaze with balsamic reduction or homemade jus from the bag’s juices, just like we do in our elevated home dinner dishes.
Resting, Serving, and Presentation Tips

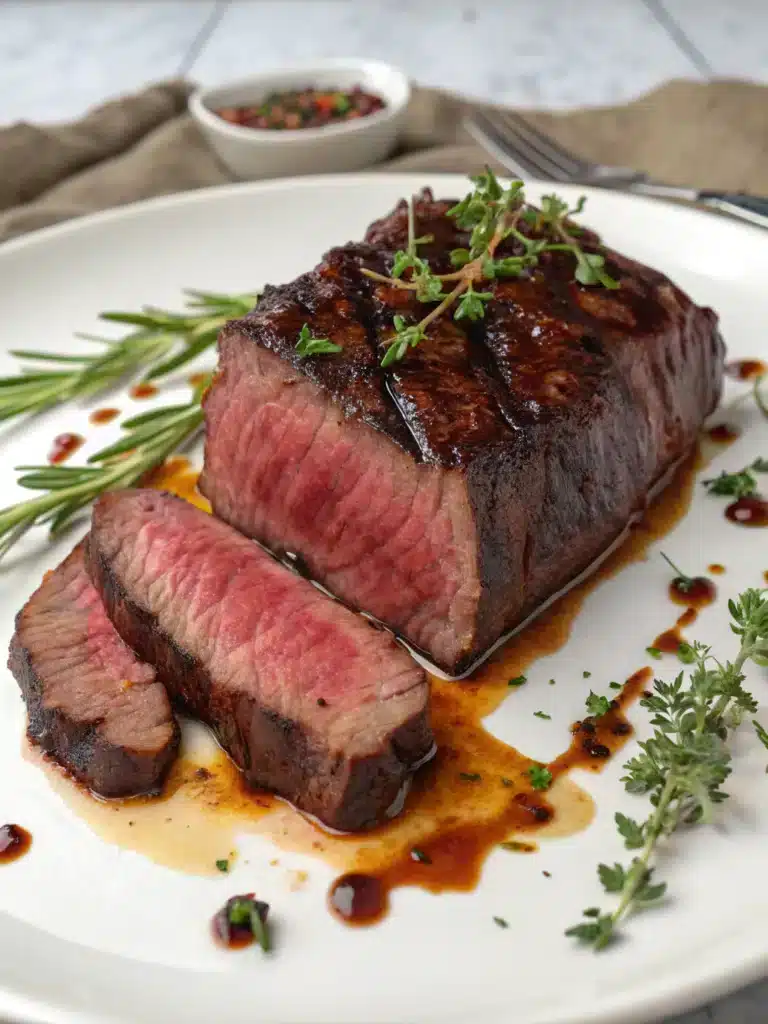
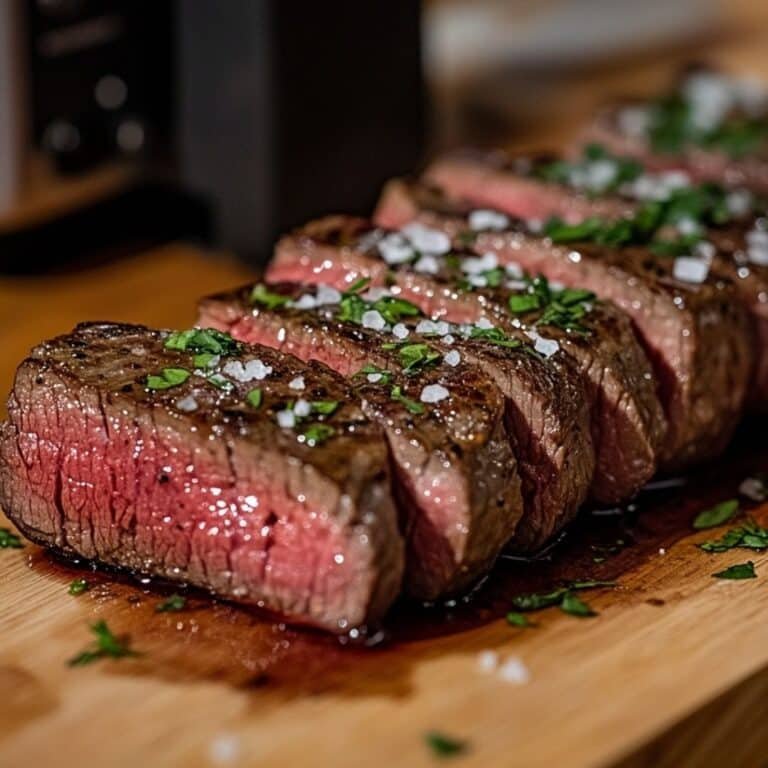
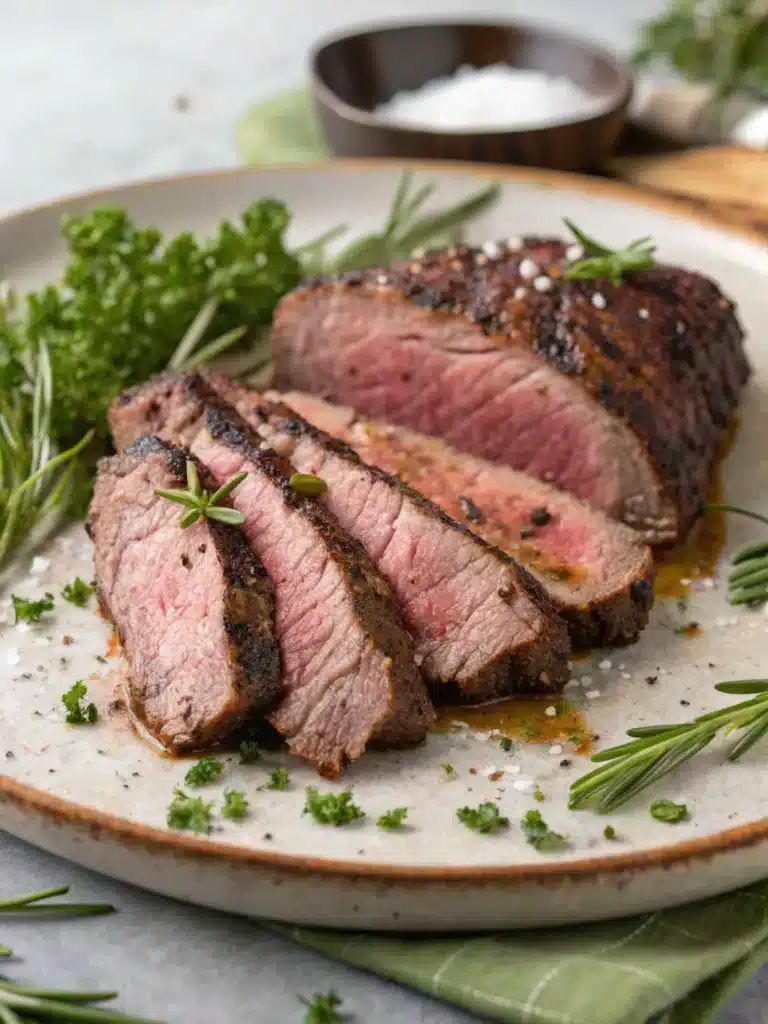
After cooking sous vide boneless short ribs and searing them to perfection, resting plays a critical role. Letting them rest for 5–10 minutes on a rack ensures juices redistribute. Cutting across the grain reveals soft, juicy strips of meat that fall apart with every bite. This final touch solidifies your precision cooking efforts.
Resting and slicing for best results
Set the ribs on a raised cutting board or wire rack so air can circulate and prevent steaming. Waiting a few minutes makes slicing easier and prevents dry edges. Using a sharp chef’s knife, cut thin slices that showcase the juicy interior. Those perfectly uniform cuts are ideal when serving guests or for plating photos in your dinner recipe gallery.
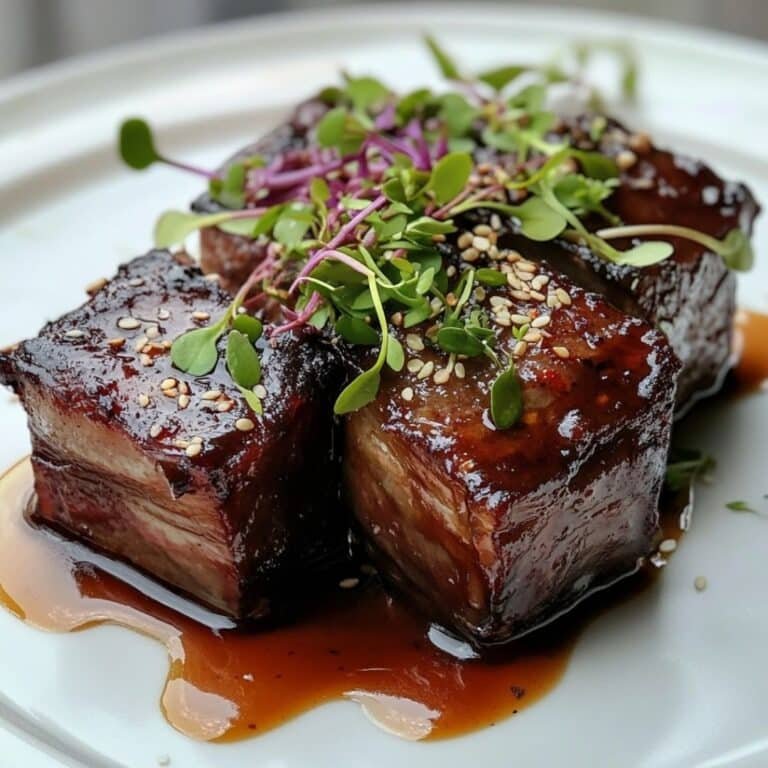
Finishing sauces and presentation
While ribs rest, use juices from the bag to make a quick pan jus, just reduce with a bit of red wine or stock. Spoon that jus over the sliced ribs and garnish with chopped parsley or microgreens. Serve alongside roasted root vegetables from our seasonal sides pages or pair with creamy polenta featured in our comforting mains section. The color contrast and sauce drizzle bring restaurant-quality presentation right to your table.
Storage and Reheating Sous Vide Boneless Short Ribs
Once you’ve perfected your sous vide boneless short ribs, don’t let leftovers go to waste. Proper storage and reheating preserve their flavor and texture for days. In fact, I often make a double batch so we can enjoy the same gourmet quality later in the week with minimal effort.
How to store short ribs properly
After cooking, cool your ribs in an ice bath for 30 minutes before refrigerating. Rapid chilling locks in the meat’s tenderness and prevents it from becoming mushy during storage. Keep the ribs sealed in their original sous vide pouch or move them to a tightly closed container to maintain freshness. In the fridge, they stay fresh for up to 5 days. If freezing, keep them sealed and label with the date, they’ll last up to 3 months without losing quality.
Best ways to reheat sous vide short ribs
To reheat without overcooking, use sous vide again. Set your circulator to the original cooking temp (like 58 °C) and warm the sealed bag for about 45 minutes to 1 hour. This brings the ribs back to serving temperature without changing the texture. Avoid microwave reheating, which can dry them out or cook them further.
Want crispy edges again? After reheating, sear the ribs quickly in a hot skillet for about 30 seconds per side to refresh that golden crust.
With the right storage and reheating methods, your sous vide boneless short ribs can be just as impressive the second time around. Now you’ve got the full guide, prep to plate and beyond.
Frequently Asked Questions
How long do you sous vide boneless short ribs?
Typically, cook boneless short ribs for 24 to 48 hours, depending on your preferred texture. I find 36 hours at 58 °C hits the best balance between tender and sliceable.
How long to sous vide boneless ribs?
It’s the same, boneless ribs benefit from 24–48 hours in the water bath. Adjust the time based on how tender you like them, firm at 24 hours and ultra-soft at 48.
At what temperature are boneless beef short ribs done?
I recommend 57–63 °C (135–145 °F). For juicy, pink ribs go lower around 57–58 °C, and for firmer, braised texture aim for 60–63 °C.
Do short ribs get more tender the longer you cook them?
Yes, they soften over time as collagen converts to gelatin. Between 24 and 36 hours, they become tender while holding shape. Beyond 48 hours, they can become extremely soft, great for shredding but may lack structure for slices.
Conclusion
Making boneless short ribs with sous vide ensures unmatched tenderness and flavor by cooking at a steady, exact temperature. This method delivers perfect results, whether cooking for a special dinner or prepping meals ahead. With the right temperature, timing, resting, and finishing touch, you turn simple ribs into a gourmet experience.
Follow us on Facebook for fresh recipe ideas!